Before using any TAK software, please make yourself familiar with the products and the potential privacy implications. More info here.
Setting up WinTAK for ASN-TAK
Note: WinTAK requires your Windows installation to have English as the display language and use english as input language.
-
Download WinTAK (4.6 or newer) from TAK.gov (Registration required)
- Download the following files and save them to your computer:
- Download any optional files you want:
Initial setup and connection
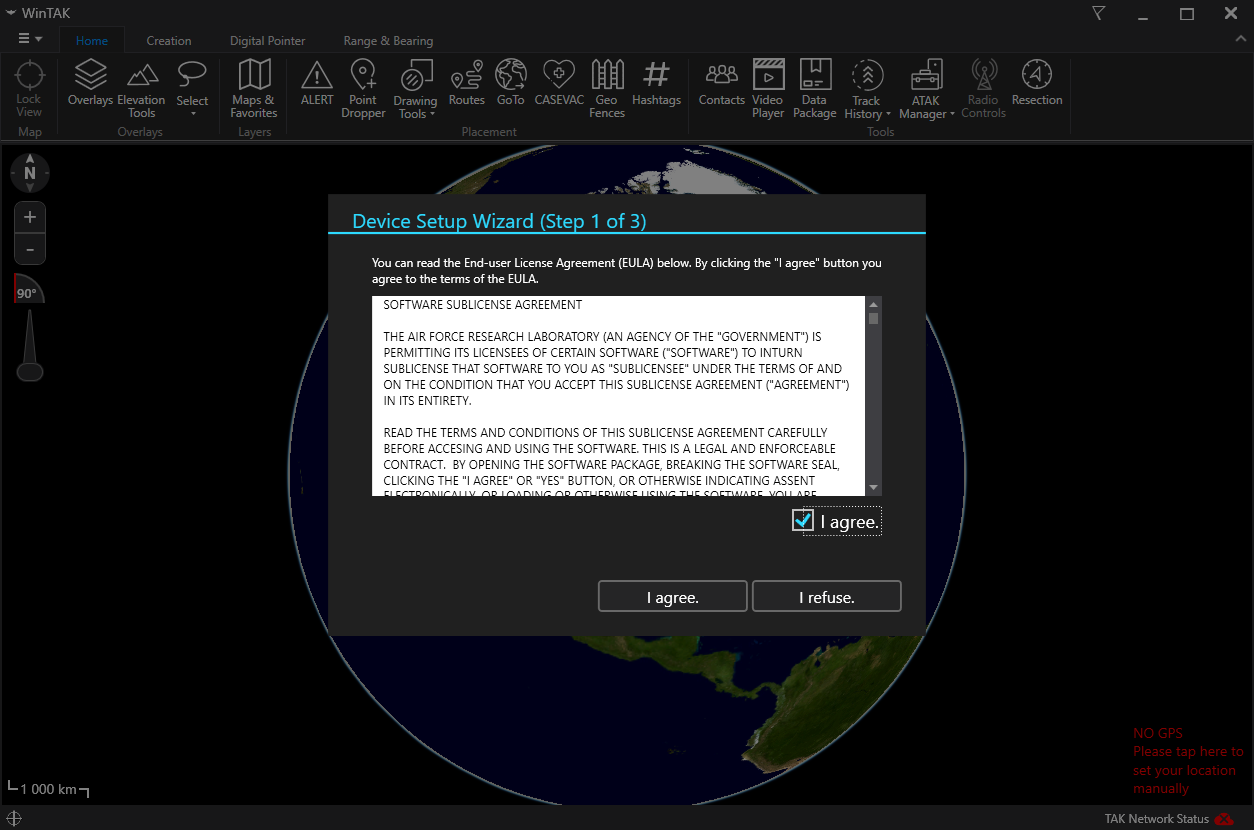
Upon first opening WinTAK you will be prompted to accept terms and the option to import a data package.
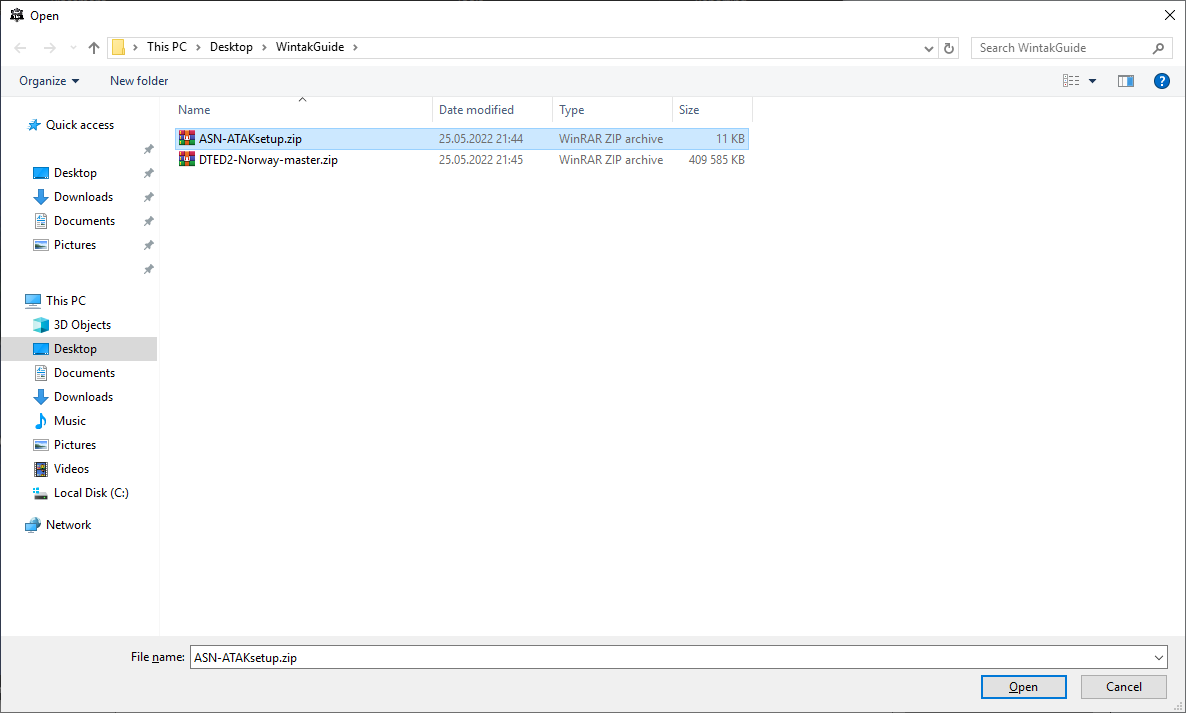
Upon the option of importing a data package you select to do so.

Select the newly downloaded ASN-ATAKsetup.zip package.
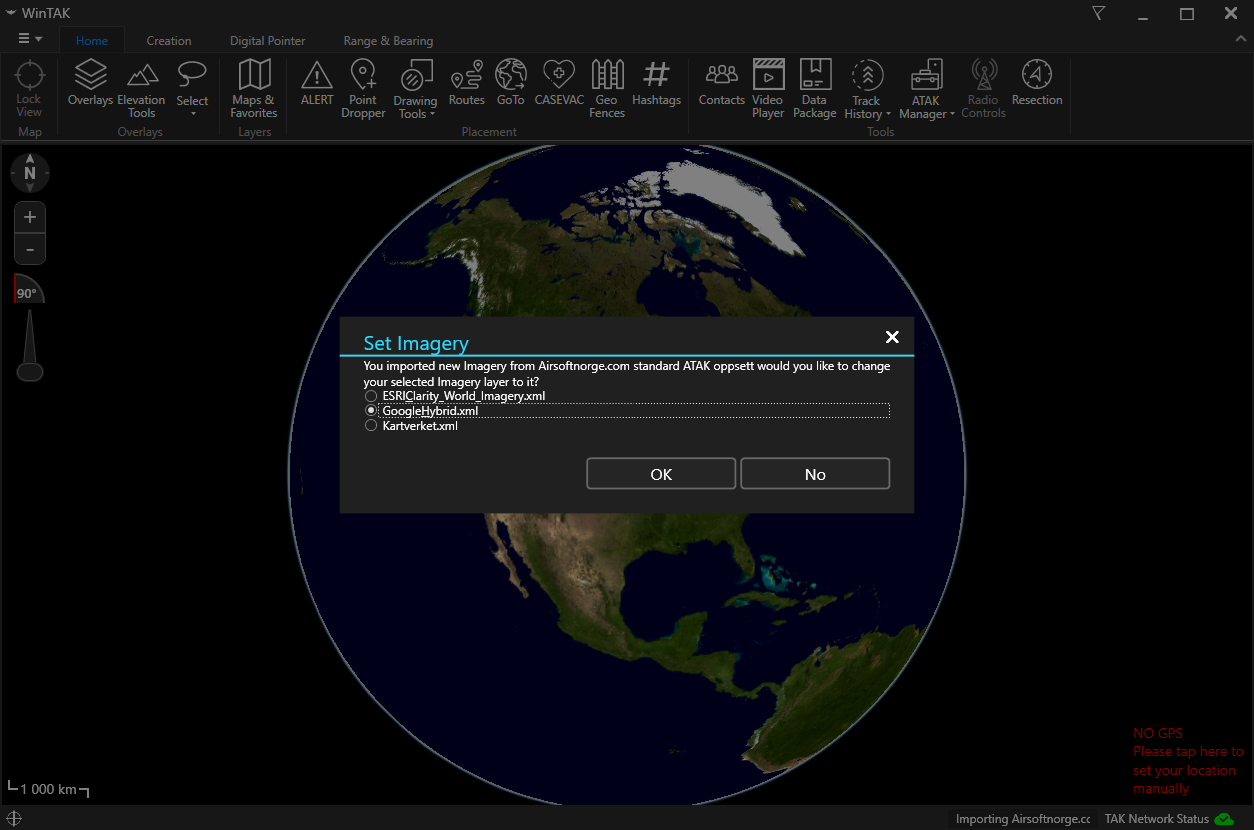
Select your map of choice
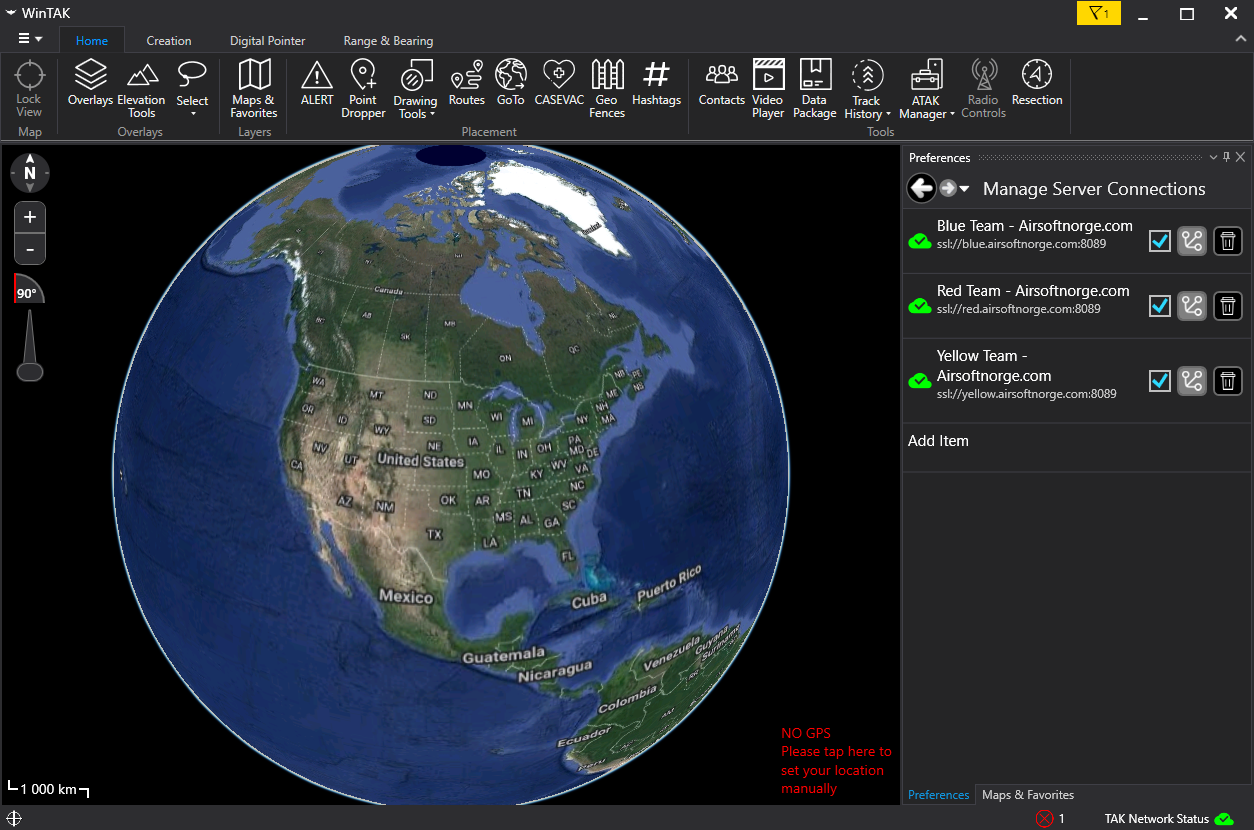
You can now click the little green icon in your bottom right and then Manage Server connections.
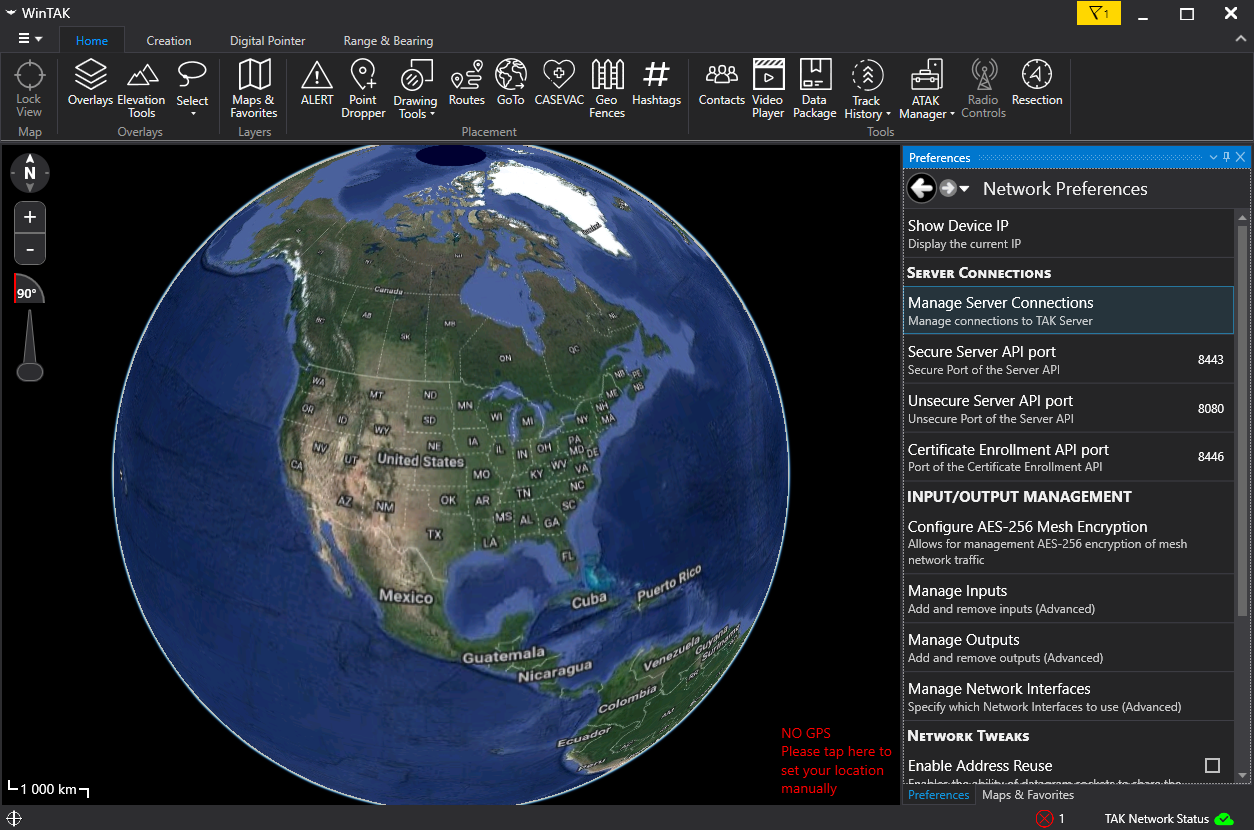
Deselect the ones you do not want to actively send or receive data on.
Importing data into WinTAK
If you wish to import further data in the future or import height data or any other data suitable for WinTAK.
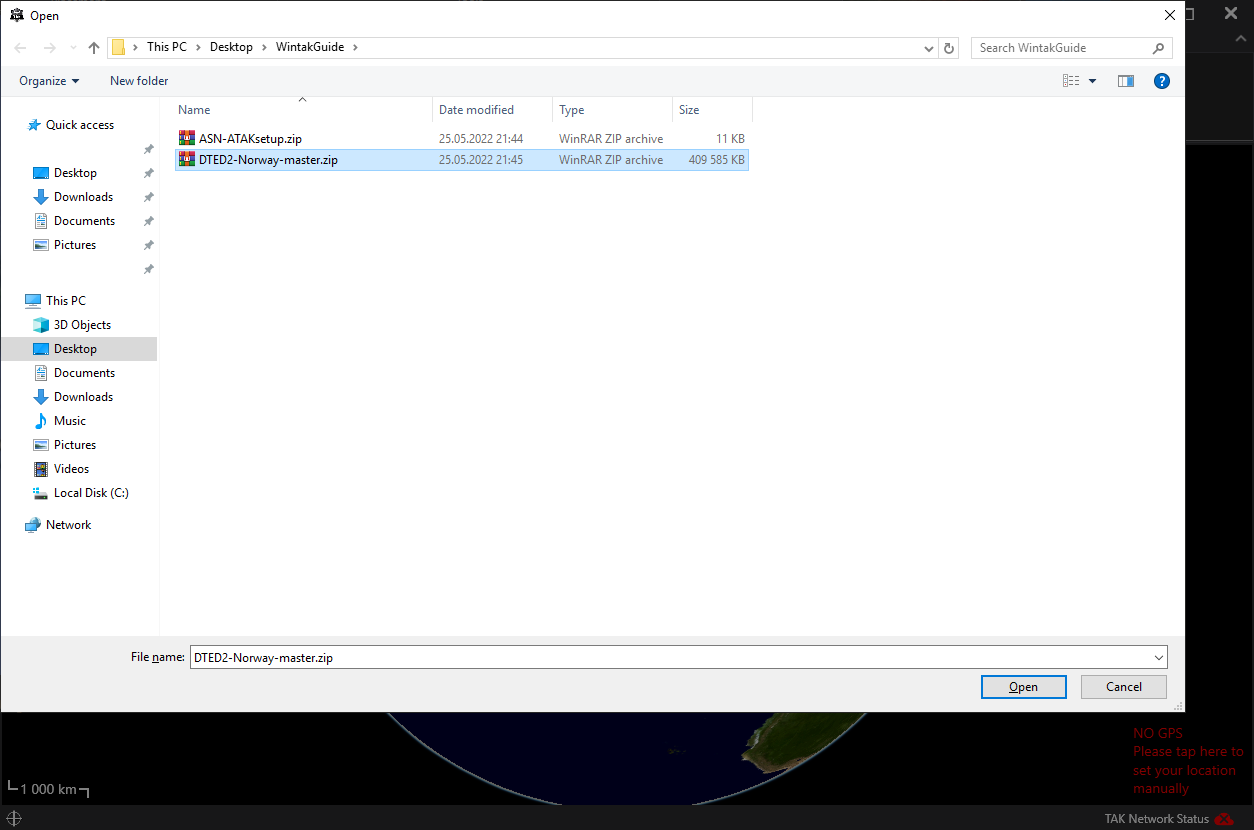
Click file in the top left corner, then Import Manager and select Import Files.

Select the data package you want, in this case the DTED2-Norway-master.zip containing height data for all of Norway.
Wait until it has imported successfully.

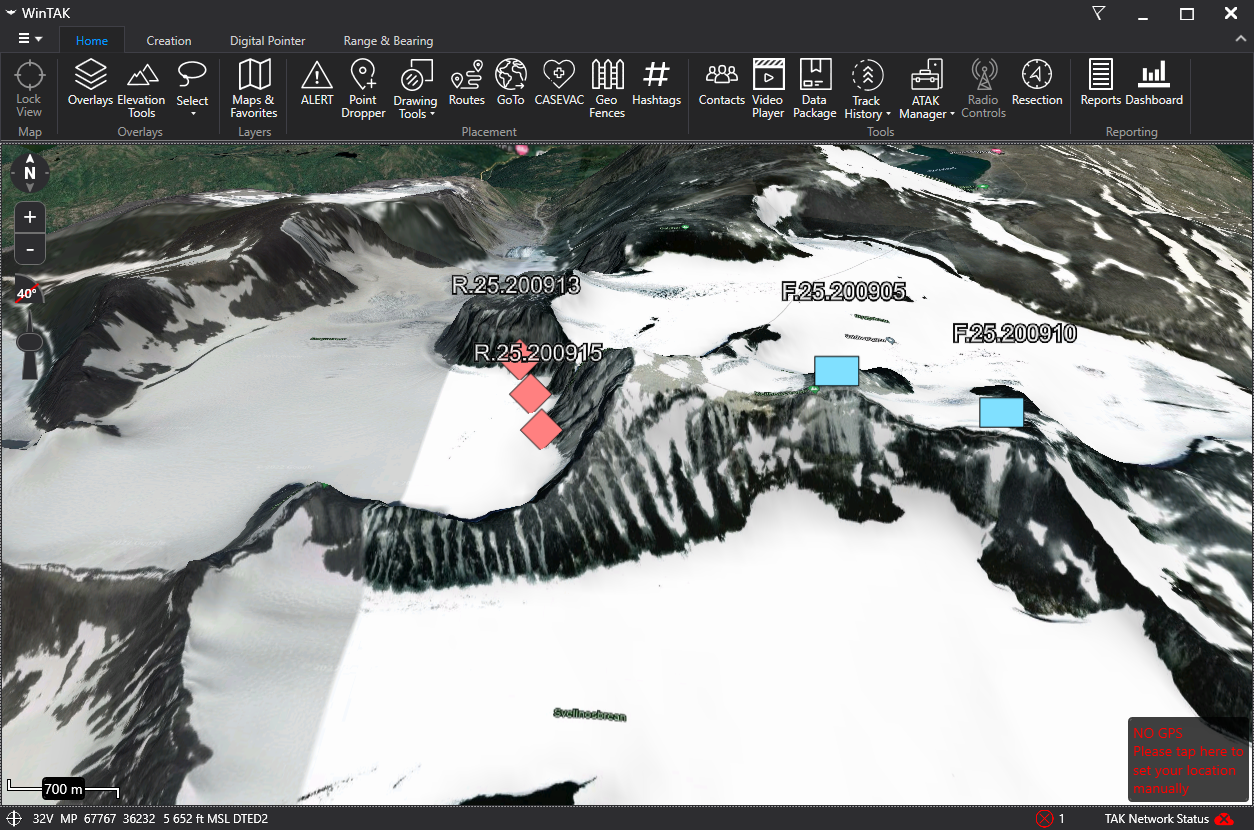
Now you will have height data available on your map, you can see the height when you mouse over in the bottom left corner, you can also utilize the 3d view and many other features in WinTAK using this data.
Example of height data used in WinTAK. Blue markers are friendly, red are hostile.